We’ve made changes to candle-lighting times for Shabbat and holidays that corrects an error we introduced a few months ago. Please accept our sincere apologies for this error.
Candle-lighting times have been adjusted 1-2 minutes earlier and now correctly reflect the correct time to light candles (40 minutes before sundown in Jerusalem, 18 minutes before sundown anywhere else).
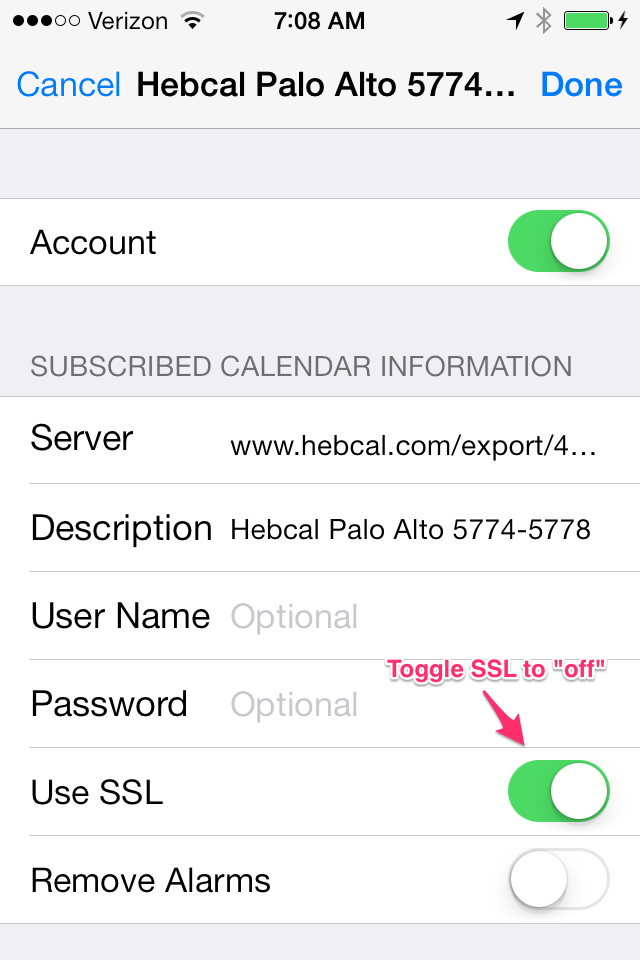
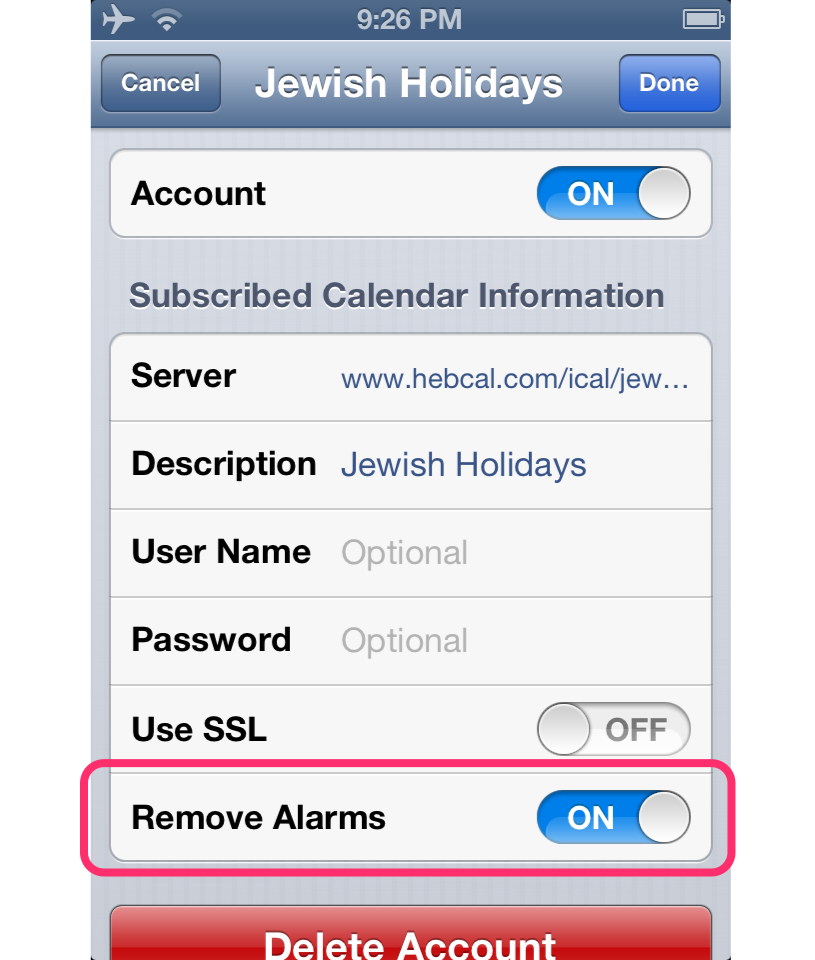
Users who subscribe to Hebcal.com calendars via iPhone/iPad, Google Calendar, or Outlook.com should get the corrected candle-lighting times automatically when these applications perform their next refresh. The typical refresh cycle is approximately once a week.
If you downloaded or printed a calendar in the past, you may wish to return to the Hebcal.com website to download and/or print an updated calendar.
The error was caused when Hebcal.com moved to a new sunset calculation engine in the summer of 2013. The new sunset engine allows support for thousands of global cities and fixed long-standing issues with our handling of Daylight Saving Time outside of the USA. Sunset times are estimated from latitude and longitude, and generally have an accuracy of +/- 2 minutes except at extreme north or south latitudes.
Unfortunately, an arithmetic error in determining sunset for a given latitude/longitude was inadvertently introduced, which added an additional 1-2 minutes of error. This error was recently discovered and corrected.